OverView:-
The Tab Bar interface is helpful in situation where you want to provide different perspective on the same
set of data or in situation, where you want to or
in situation where we want to provides your application long functional lines.
The key component of a tab bar interface is the present of tab bar view along
the bottom of the screen. This view is used to initiate the navigation bar b/w your appilaction different modes and can
also provide the information about the state of each mode
The
manager for a tab bar interfaces is a tab bar controller objects. The tab bar
controller create and manage the tab bar view and also manage the view
controller that provided the content
view for each mode. Every contents of view controller is design as the view
controller for one of the tabs in the tab bar view. When a tab is pressed by
the user, the tab bar controller object select the tab and display the view
associat with correspond content view controller .
Tab bar controller has its own container view,
which encompass all of the other views, including the tab bar view. The custom
is provided by the view controller of
the selected tab.
Getting Start:-
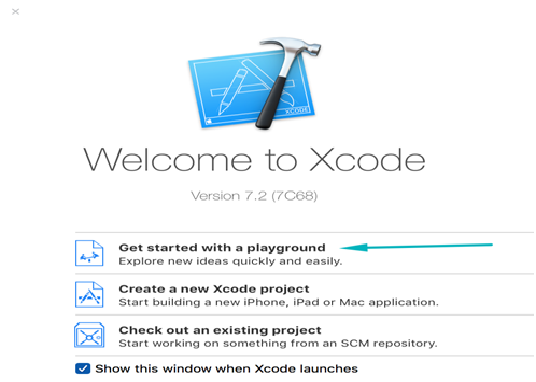
Open a xcode and
create a new project. Use the Single View
Application as starting point :-
1.
Create Single View Application and Click on the Next button
2.
Give the Product name and click on the next button
3.
After that click on the create button
After Xcode has
created the project
·
The new project consist of two classes
AppDelegate , ViewController and main.storyboard file.
·
Click Main.Storyboard in the project navigator
to open it in the Interface Builder editor.
·
Select the ViewController and goto Editor click
on the editor

·
Then goto the Embed in And Seclect the tab bar
Controller
·
The you will see that in your project embedded a
tab bar controller like this

·
In your project of the Main.Storyboard file you
will see that add a new tabbar
controller and your main .Storyboard file look
like this your project inter face builder

if you want embedded
more ViewController with this tab bar controller then you select the
ViewController from the object library and Drag the ViewController in the
interface builder
·
Now you see that in your project have two
ViewController in the Main.StoryBoard
·
If you want join second ViewController with the tab bar
controller then do this Control + Drag on the secondViewController
then you see a pop view like this

Then you select the view
controller from this view
Now then you see after complete this job in your
project a tab bar controller connect
with your secondViewController.

·
Now you can run your project but how to decide that
, which View controller is first view Controller and which Second View
Controller
·
Now you drag
uilabel drag from the object library set in the first and second View
Controller
·
You can write on this label as like for First
View Controller “ This is my fist View Controller” and same as for second View
Controller name “This is my second View Controller”.
·
And set
label color White And you want change the view controller background color
·
then select the view Controller
·
and go to attribute inspector select Backgroung color
·
set the
background color
·
Now, run
your project

Now
click on the simulator second item you see
the second view Controller .

Also Read- Cron Job With Sidekiq
If you are, looking to Develop and design for your project then feel free to contact us at any time
Call Us- +91 9910781148, +1 8033353593
Email: company@tecorb.com
Skype- tecorb
“We maintain transparency with our customers. Our values and business ethics has given us repeated customers. We tend are proud to be a reliable outsourcing partner for many clients across the World.”
Email: company@tecorb.com
Skype- tecorb
“We maintain transparency with our customers. Our values and business ethics has given us repeated customers. We tend are proud to be a reliable outsourcing partner for many clients across the World.”